Launch your own forum with Flarum using Moss
Flarum is an open source discussion platform written in PHP. As of this writing it’s beta software and their authors don’t recommend using it in production yet. However, some of our customers are interested in this project and this article will help them create a Flarum website easily. Let’s see how 😀
Things to consider
If you want Flarum to be a standalone website on its own (e.g. myflarum.com) or a subdomain of an existing domain (e.g. myflarum.mysite.com), then head to the section below.
On the contrary, you might want to Flarum to be served from a folder of an existing site (e.g. mysite.com/myflarum). In such case, head to the last section of the article.
Installing Flarum as a site
Create a new PHP site from Moss. Create a database connection for the site, use public as the root dir, and choose the stack that better fits your needs: Either Nginx or Nginx + Apache. Note that the installation is easier (faster) with Apache, so we’ll cover that case first.
Once the site’s been created, upload your public SSH key on the server user’s account so that you can later on log into the server as such user to install Flarum.

Now log into the server as the appropriate user (flarum in this example) and run the following commands:
cd sites/flarum/current
composer create-project flarum/flarum . --stability=beta
If you’re using Nginx + Apache, you can skip the following subsection. Otherwise, please keep reading.
Configurations for Nginx standalone
Using your favorite text editor, edit file sites/flarum/current/.nginx.conf to comment the following lines:
# Pass requests that don't refer directly to files in the filesystem to index.php
# location / {
#   try_files $uri $uri/ /index.php?$query_string;
# }
Save the changes and log out. Now log on the server as user moss and run this command:
echo "include /home/flarum/sites/flarum/current/.nginx.conf;" | sudo tee /usr/local/openresty/nginx/conf/server_params.flarum
Log out of the server and restart Nginx from the Software tab. Wait until the process completes successfully.
Setting up Flarum
At this point you’ve already installed Flarum and you just need to finish the setup process. Update your DNS records, in case you haven’t done that yet, and open your browser. Visit your domain and you’ll see the following page:
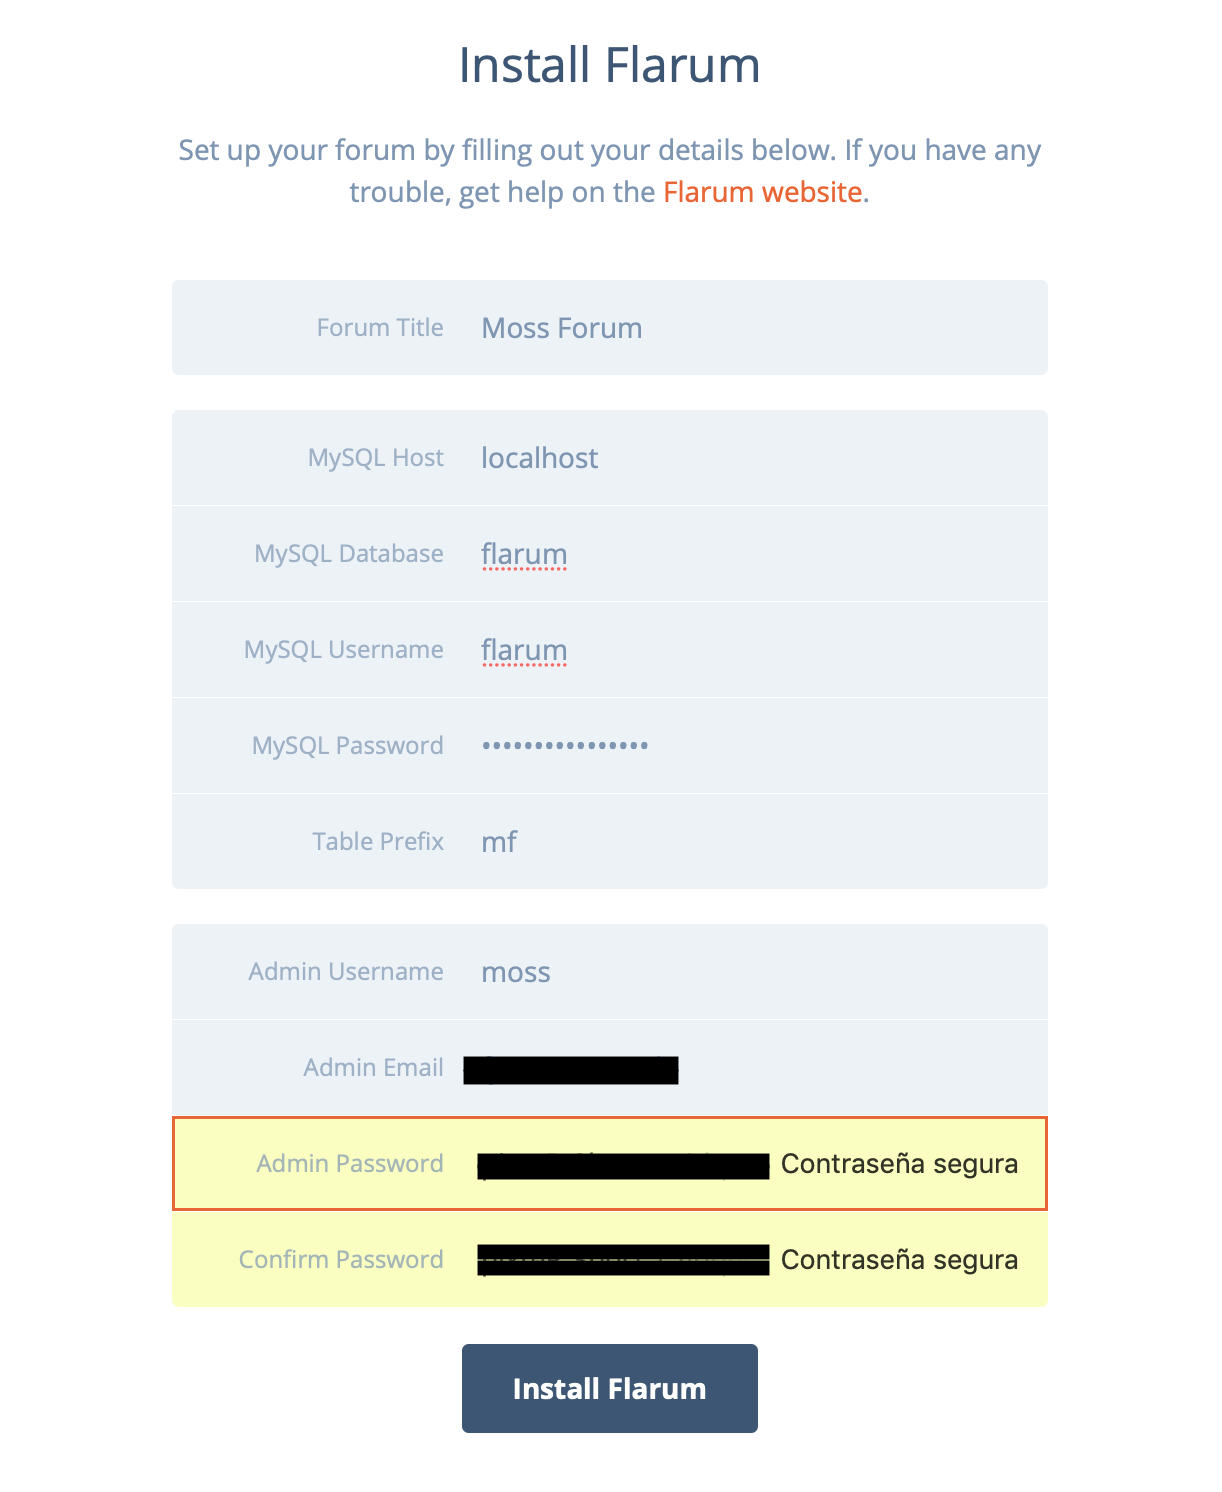
Fill out the form using the database name, username, and password you created before. In case you don’t remember the password, you can check it from Moss.
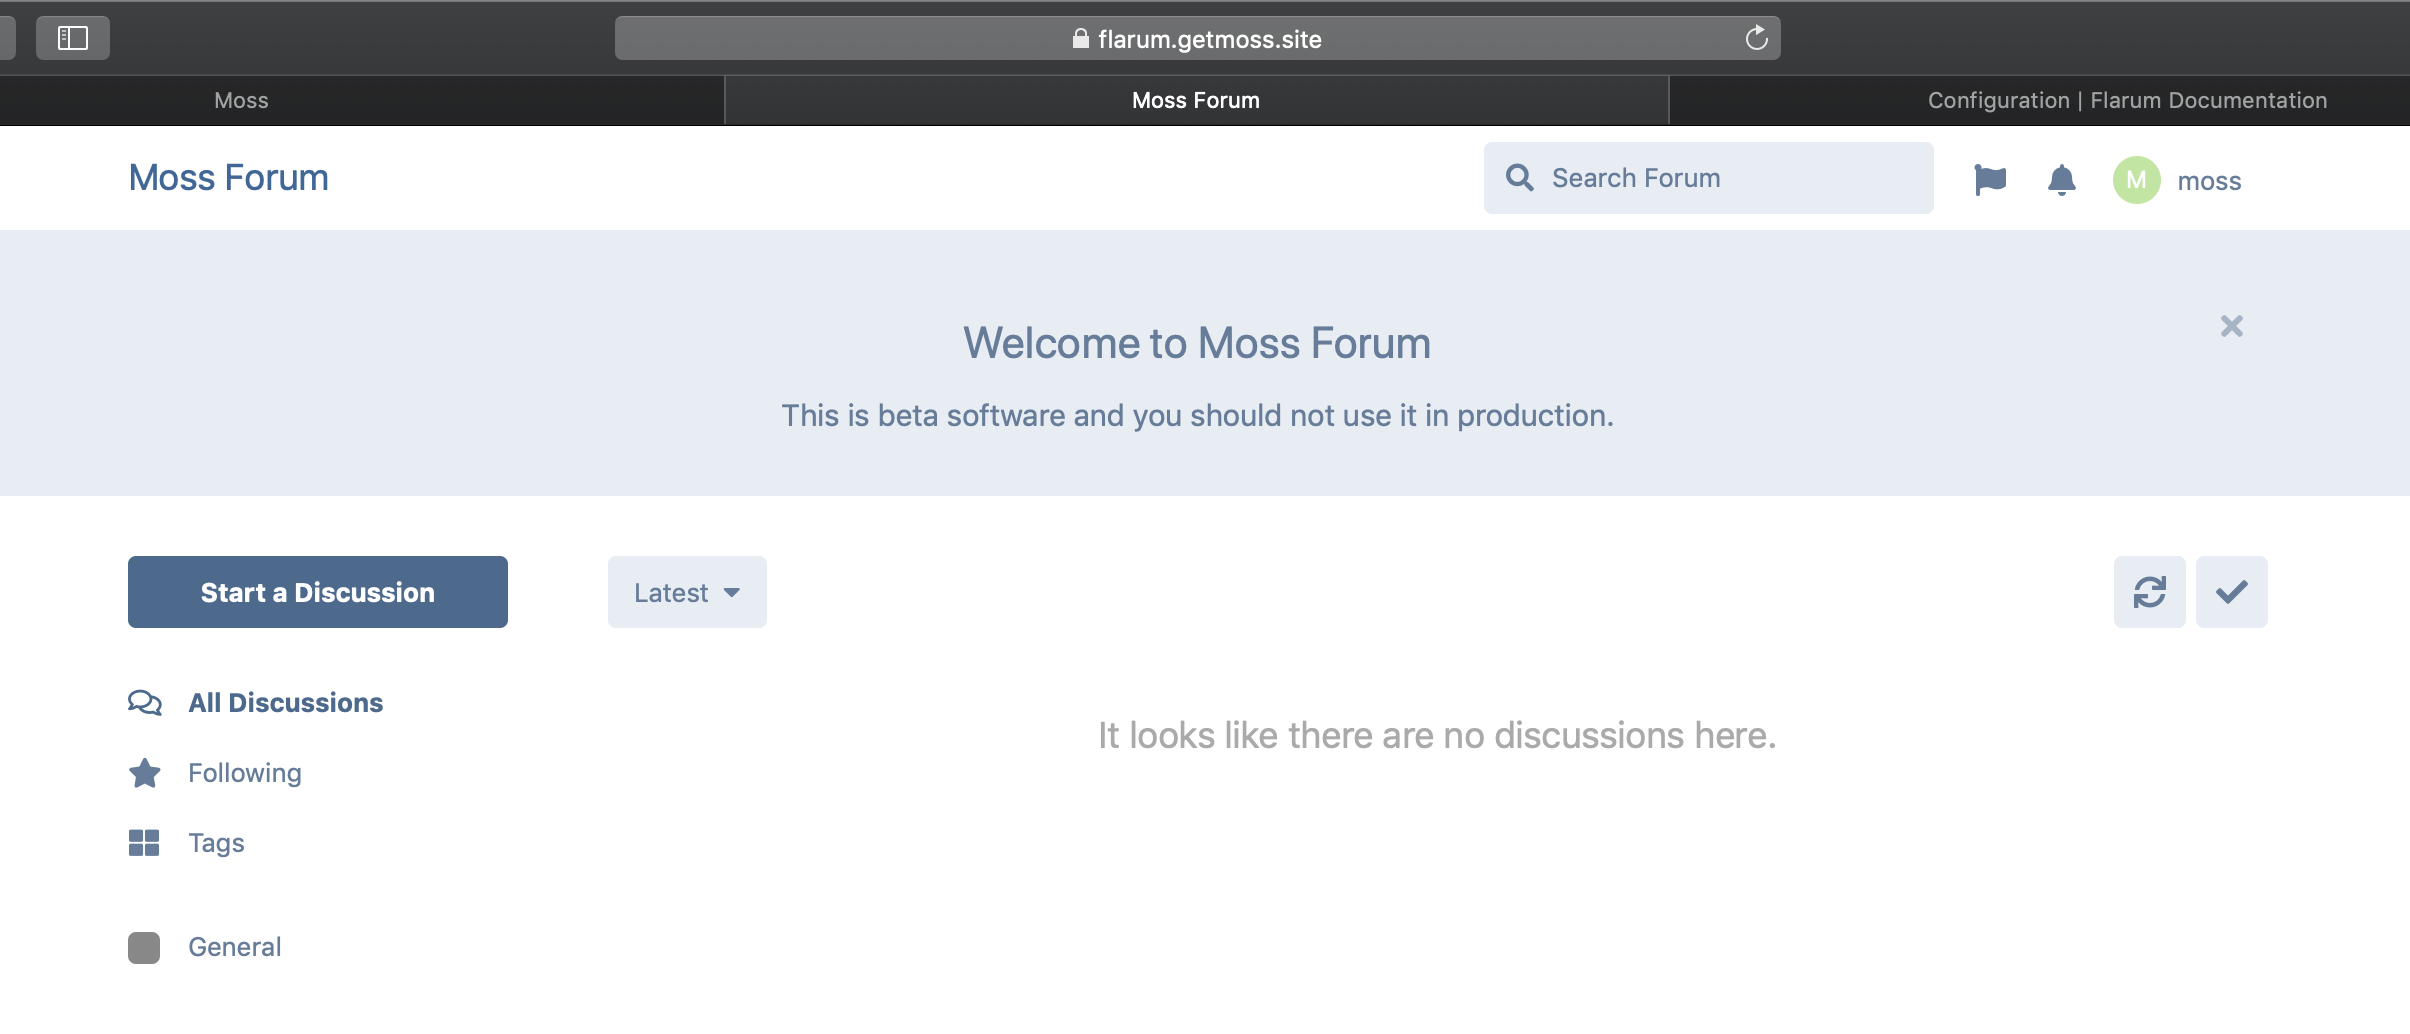
Once the setup process is done, you’re ready to create your first discussion! Now you’re done, but take a look to the next section if you want to install Flarum in a folder of an existing site.
Installing Flarum as a folder
Let’s say you have a WordPress site using Nginx + Apache, e.g. mysite.com, and you want to serve a discussion forum from mysite.com/flarum.
In first place, you must create a database connection for Flarum. Head to the Databases tab of your site in Moss and click New connection. Then fill out the form.
Let wp be the name of the site and the server user that runs the site. Now log into your server via SSH as user wp and run the following commands:
cd sites/wp
composer create-project flarum/flarum flarum --stability=beta
ln -s /home/wp/sites/wp/flarum/public/ public/flarum
Using your favorite text editor, edit file public/flarum/.htaccess to uncomment the following lines:
# Uncomment the following lines if you are not using a public directory
# to prevent sensitive resources from being exposed.
RewriteRule /\.git / [F,L]
RewriteRule ^composer\.(lock|json)$ / [F,L]
RewriteRule ^config.php$ / [F,L]
RewriteRule ^flarum$ / [F,L]
RewriteRule ^storage/(.*)?$ / [F,L]
RewriteRule ^vendor/(.*)?$ / [F,L]
Save the changes, open your browser, visit mysite.com/flarum , and finish the setup process as described in the section above (Setting up Flarum).