Add an Amazon credential to let Moss launch new servers on EC2
In this article you’ll learn how to create a credential in Amazon Web Services to authorize Moss to launch new servers on your behalf.
How to get a credential from Amazon
In the following we assume that you already have an Amazon Web Services account. If this is not the case, please sign up at AWS first and you may take advantage of their free tier for one year.
1. Log into the AWS Console
2. Choose the ‘EC2’ service and check you don’t see something like the following screenshot. Otherwise, wait until your Amazon account is fully enabled.

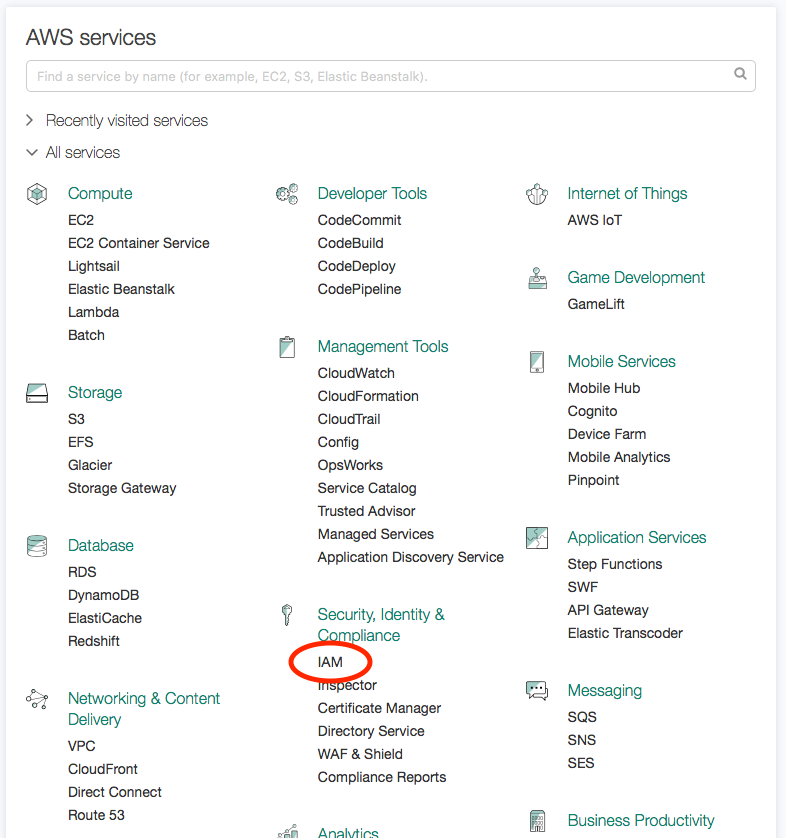
3. Choose the ‘IAM’ service
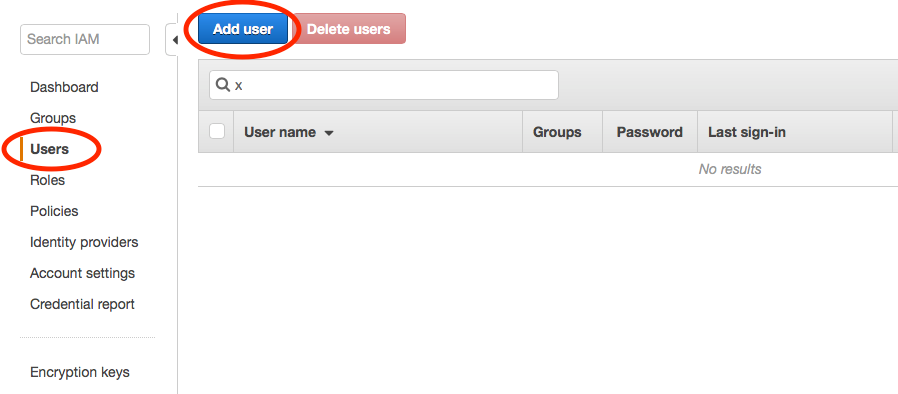
4. Go to the ‘Users’ section and click ‘Add user’
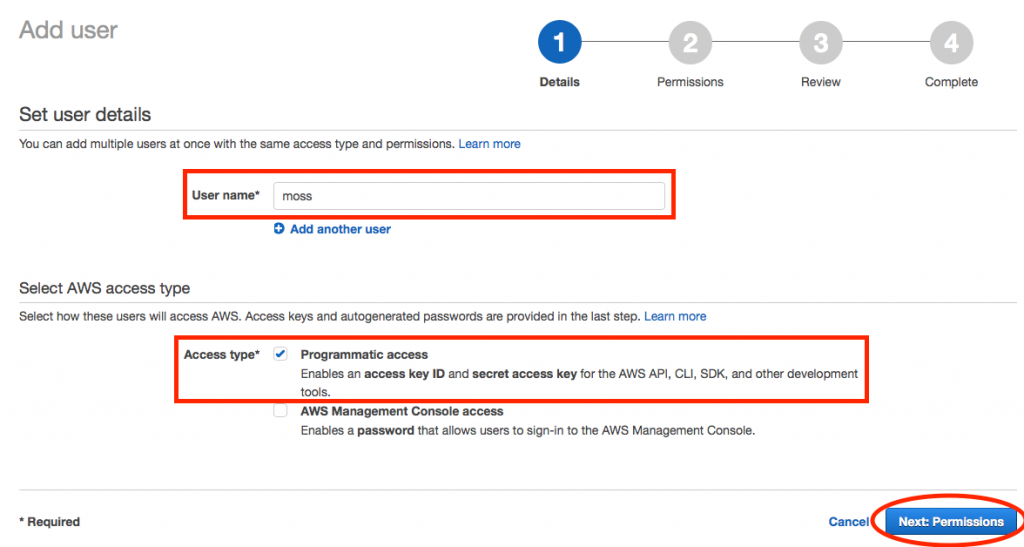
5. Provide a user name and check the ‘Programmatic access’ box
6. In the ‘Attach existing policies directly’ option, check the ‘AmazonEC2FullAccess’ box

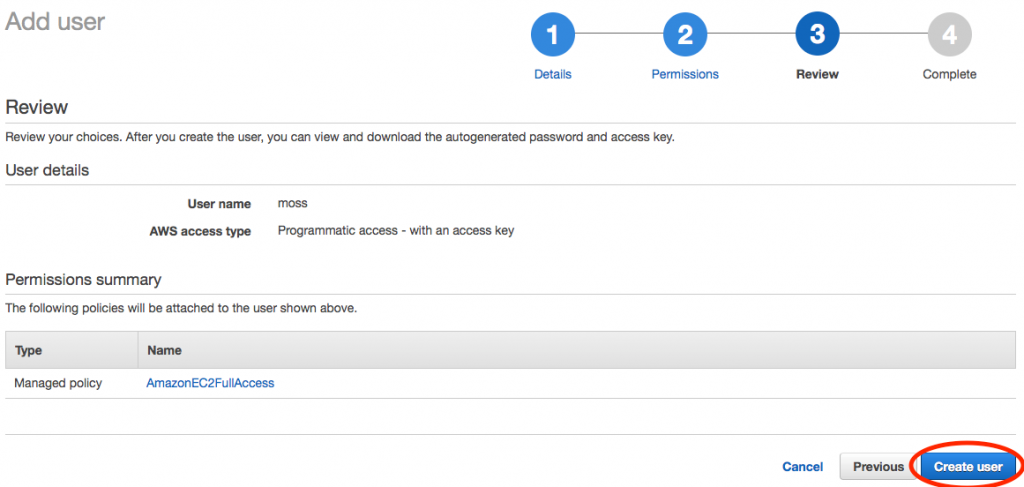
7. Check everything’s ok and click the ‘Create user’ button
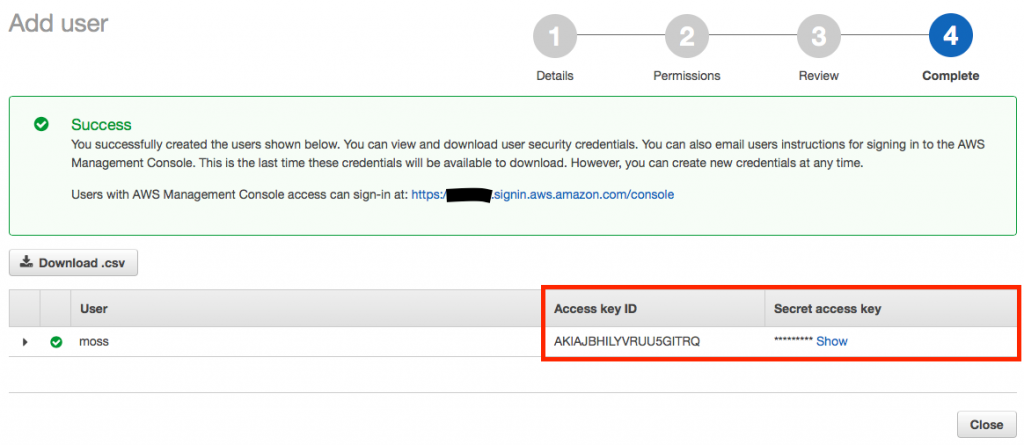
8. Download and/or copy your ‘Access key ID’ and ‘Secret access key’ (keep them safe)
How to add the Amazon credential in Moss
The admin of the organization can add a new integration in different places throughout the web application, e.g. while adding a server, enabling/disabling integrations in a workspace, or managing the integrations at organization level (as in the following screenshot):

In any case, click New integration and provide the following inputs:
- Name of the credential in Moss. This is how you can distinguish among different credentials. Examples:
my-client-name,moss@amazon, etc. - Access Key ID. See step 8 in the previous section.
- Access Key Secret. See step 8 in the previous section.
Finally click Create.
What’s next?
You’ve integrated Amazon! Now you can launch servers on Amazon EC2 from Moss.