How to create, deploy, and monitor your Rails apps with Moss
In this article we’ll see how Moss can create, deploy and monitor a Rails application. We’ll use Fat Free CRM as an example, but other Rails applications can be set up similarly. We also assume that you use git in your development workflow.
Connect your server to Moss
If you haven’t done it yet, you must have at least one server in Moss. You must be the admin of your Moss’s organization in order to perform this step.
While it doesn’t make much difference, we note that the server we’ve used for this article runs Ubuntu 18.04.
Install Ruby
Now you must log into your server as user moss and install Ruby by any means you feel comfortable with. In this example, we’ll just use the software package that comes with Ubuntu 18.04 (note that Fat Free CRM supports Ruby 2.5).
local$ ssh moss@<server-ip>
$ sudo apt -y install ruby ruby-dev
$ ruby --version
ruby 2.5.1p57 (2018-03-29 revision 63029) [x86_64-linux-gnu]
You must be the admin of your Moss’s organization in order to perform this step.
Install your project’s dependencies
Also as user moss, install everything your project’s gems will require. In the case of Fat Free CRM, the following command applies:
$ sudo apt -y install libmagick++-dev libxml2 libxml2-dev libxslt1.1 libxslt1-dev libyaml-dev mysql-client libmysqlclient-dev libsqlite3-dev nodejs
$ sudo gem install bundle
$ exit
You must be the admin of your Moss’s organization in order to perform this step.
Create your site
Now we’re ready to create our website with Moss. Since Rails is not natively supported in Moss as of this writing, we’ll choose Static as the framework of the site – in this way, Moss won’t install any software that we won’t use in our server.
Create a database connection for your site. In this example, we’ll create database user fat and database fat_free_crm_production. Also use public as the root dir.
Click Create and Moss will start an operation to create your new site.
Deploy your site
Now it’s time to set up your git deployment.
Git repo
The git repo in this example is a fork of Fat Free CRM. The only difference with the upstream is that we’ve updated the file Gemfile.lock with the appropriate dependencies.
Everything not in your git repo must be specified as shared directories or files (files with secrets, user-generated content, application logs, etc). In the case of Fat Free CRM, we specify config/database.yml as a “Shared file”.
Shared paths
Since shared folders and files are not part of our git repo, we must provide them within the folder /home/<site-user>/sites/<your-site-name>/shared/. In this example, we have to create the file config/database.yml in our server with the appropriate content. In particular, it must contain the database name, database username, and database user password we created before. We must do this by logging into our server as the server user that owns our site:
local$ ssh <site-user>@<server-ip>
$ cd sites/fatfreecrm/
$ mkdir shared/config
$ cat > shared/config/database.yml <<EOF
---
development: &development
  adapter: mysql2
  encoding: utf8
  database: fat_free_crm_development
  pool: 5
  username: fat
  password: arandompass

test:
  <<: *development
  database: fat_free_crm_test

production:
  <<: *development
  database: fat_free_crm_production

staging:
  <<: *development
  database: fat_free_crm_staging
EOF
Deployment flow
Now we’ll tell Moss what commands it must run on our server in order to successfully build our application.
In this example we just need to provide a pre-activation script that installs all dependencies, runs database migrations, sets up an admin account, and compiles static assets.
export CI=true DB=mysql RAILS_ENV=production
bundle install --path vendor/bundle
rake db:migrate
rake ffcrm:setup:admin USERNAME=admin PASSWORD=something [email protected]
rake assets:precompile
Once this has been updated, click Deploy.
Start Rails application server
The command bin/rails server starts a Puma application server to run your Ruby application. By default it listens on http://127.0.0.1:3000.
Instead of blindly running such command in a deployment script, we’re going to create a Supervisor process that will restart Puma in case it hangs.
For this, please log into your server as user moss and run the following commands (first adapt the content of the configuration file to your app instead of Fat Free CRM).:
local$ ssh moss@<server-ip>
$ sudo su
$ cat > /etc/supervisor/conf.d/fatfreecrm-puma.conf <<EOF
[program:worker-fatfreecrm-puma]
process_name=%(program_name)s_%(process_num)02d
directory=/home/<site-user>/sites/fatfreecrm/current
environment=RAILS_ENV="production",DB="mysql",CI="true"
command=/home/<site-user>/sites/fatfreecrm/current/bin/rails server
autostart=true
autorestart=true
user=<site-user>
numprocs=1
redirect_stderr=true
stdout_logfile=/home/<site-user>/sites/fatfreecrm/logs/worker-fatfreecrm-puma.log
EOF
$ supervisorctl reload
$ exit
$ exit
Set up Nginx
At this point your application is deployed on your server and it’s reachable locally on port 3000. To make our app globally available, we just need to set up Nginx as a reverse proxy in front of Puma.
Please log into your server as user moss and run the following commands:
local$ sudo moss@<server-ip>
$ sudo su
$ cat >> /etc/openresty/server_params.fatfreecrm <<EOF

# Puma application server
#
location ~ /(.*) {
      proxy_pass  http://127.0.0.1:3000;
}
EOF
Finally, restart Nginx. If everything goes well, your site is ready to go live 😉
Now you can update the appropriate DNS records, wait for them to propagate, and check your application is working as expected.
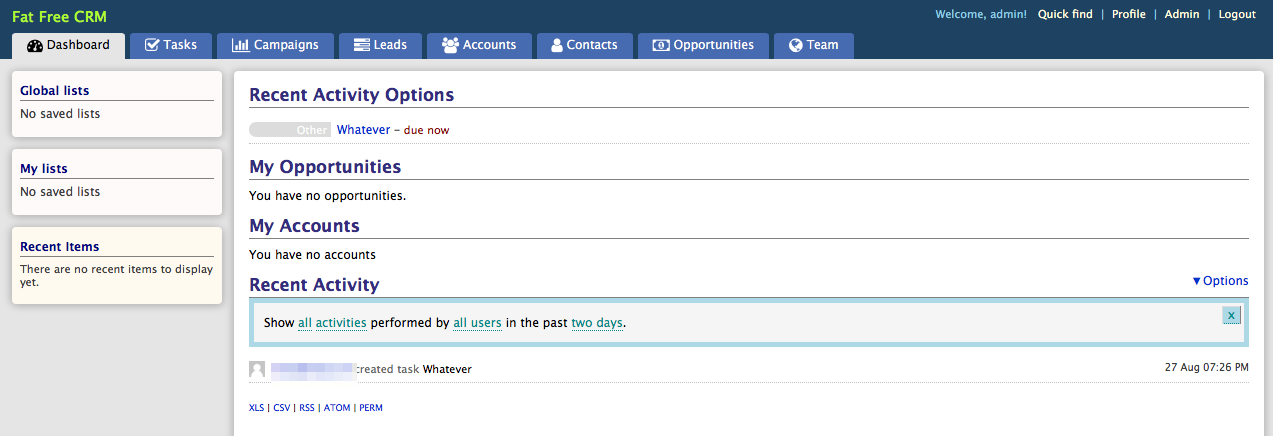
In our case, we finally have a working deployment of Fat Free CRM with zero-downtime automatic deployments, automatic free HTTPS (via Let’s Encrypt certs), and zero-config monitoring & alerts 😀