Step-by-step guide to migrate a WordPress site to a new server
If you have a WordPress site running on a server and you need to move it to another server connected to Moss, in this article we tell you how 😀
We assume the following names, passwords and IP addresses. Don’t forget to use the ones that correspond to your case instead.
- The site to move is
mysite.com mysite.comis currently hosted on serversrcsrchas IP address10.0.0.1- WordPress database is called
db, database user isdb_userand the corresponding password isdb_pass dstis the destination server formysite.comand it has IP address10.0.0.2wpis the server user that will runmysite.comindstsiteis the name of the site indst- The name of your local machine is
local
Note: We’ll use scp to copy files from your local machine to the new server. If you’re used to working with an FTP/SFTP client, you may use it instead (remember that Moss will set up your new server and therefore you can upload files using SFTP but not FTP, due to security reasons).
Decrease the lifetime of DNS records
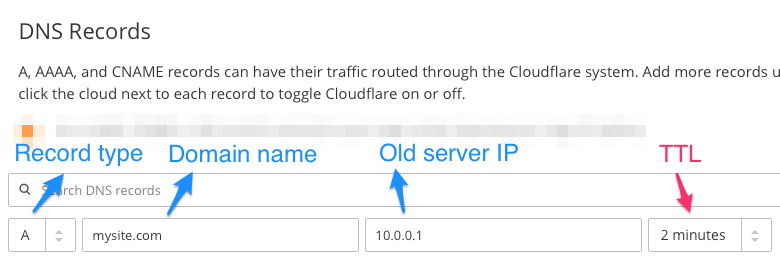
DNS records have a lifetime (TTL = Time To Live) that determines for how long a name resolution may be cached. To accelerate the migration process, we recommend that you decrease the TTL of the record that resolves mysite.com to address 10.0.0.1 down to the minimum allowed by your DNS provider. In this way, your users will access your site on the new server sooner when you update mysite.com to point to IP address 10.0.0.2.
In the figure below you can see how to update the TTL in Cloudflare. Any other DNS provider will provide you with a similar panel where you’ll be able to set the TTL. Just use the minimum value that your provider allows.
Once you apply the change, you should wait for as long as the previous TTL before going on. In this way you can be sure that previous cache entries with the old TTL expire and the new TTL is the one being used.
Back up your current website
Now we need to get a copy of the files and database of your current WordPress site. There are many ways to achieve this, but in this article we’ll take advantage of a well-known WordPress plugin: Duplicator (note that we don’t have any affiliation with such plugin).
- Log into your current WordPress site
- Install and activate Duplicator
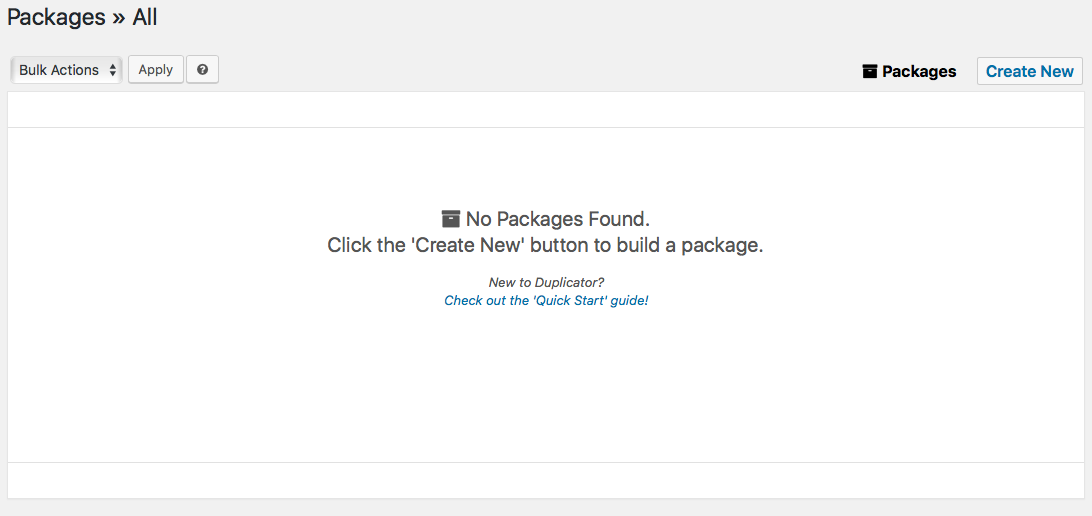
- Head to the ‘Packages’ section and click ‘Create New’
- Set up your new package (default values are usually ok)

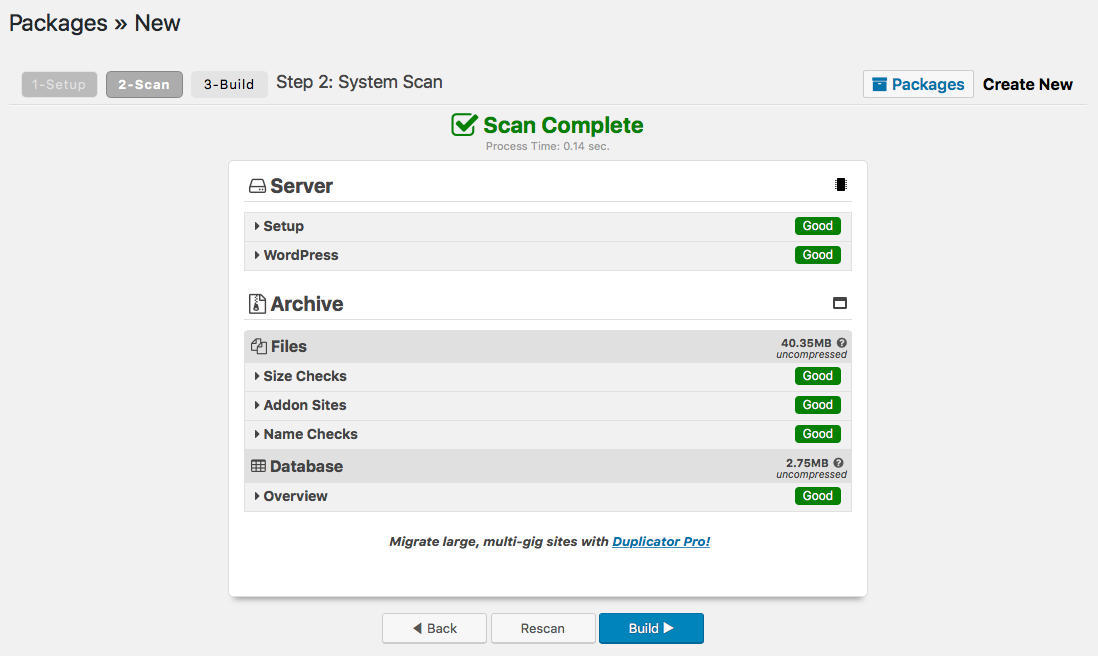
- Let Duplicator scan your website. Click ‘Build’ when the process is done.
- Download the installer and the archive
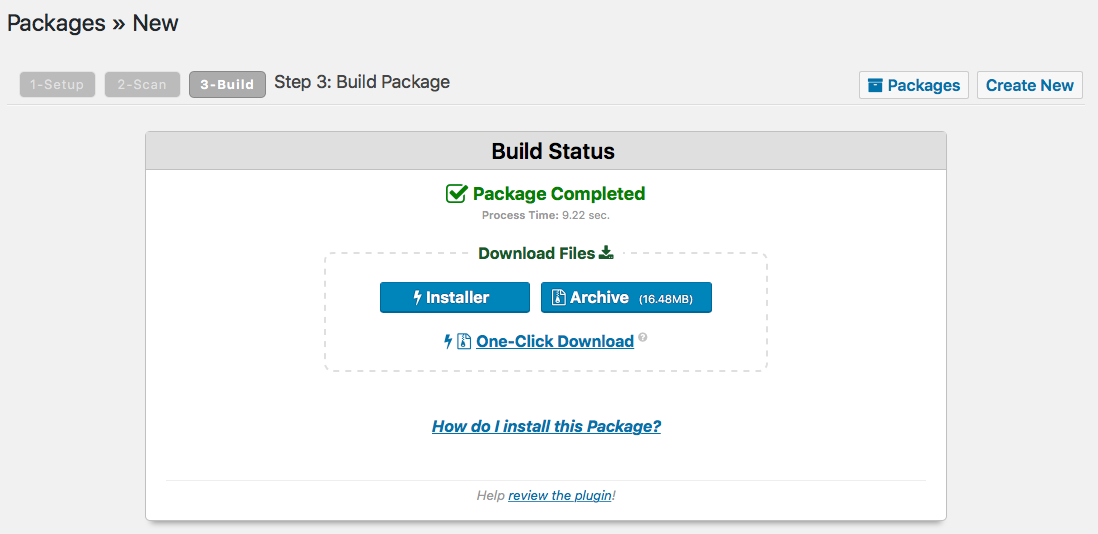
You’ll get two files on your local computer: installer.php and a zipped file. Later on you’ll upload these files on your new server to start the migration process.
Create your new server
If you haven’t done it yet, log into Moss and create the new server.
To do this you need to be the admin of your organization. If you’re a developer, tell your admin to add the server to a workspace where you belong.
Create the site in the new server
Log into Moss and create your WordPress site. Don’t check the Install box, since we’ll restore your previous WordPress installation on this server.
- The domain must be
mysite.com - Create server user
wp - Create a database connection to
dbvia userdb_userwith passworddb_password - Fill out the remainder of the form according to your needs
Restore your site on the new server
Now we’ll deploy Duplicator‘s installer and archive on the new server.
From your local machine, copy both files onto the root dir of your WordPress site:
scp \ installer.php \ 20180107_mysite_com_ede7ec8524ff009237651801071843_archive.zip \ [email protected]:/home/wp/sites/site/public/
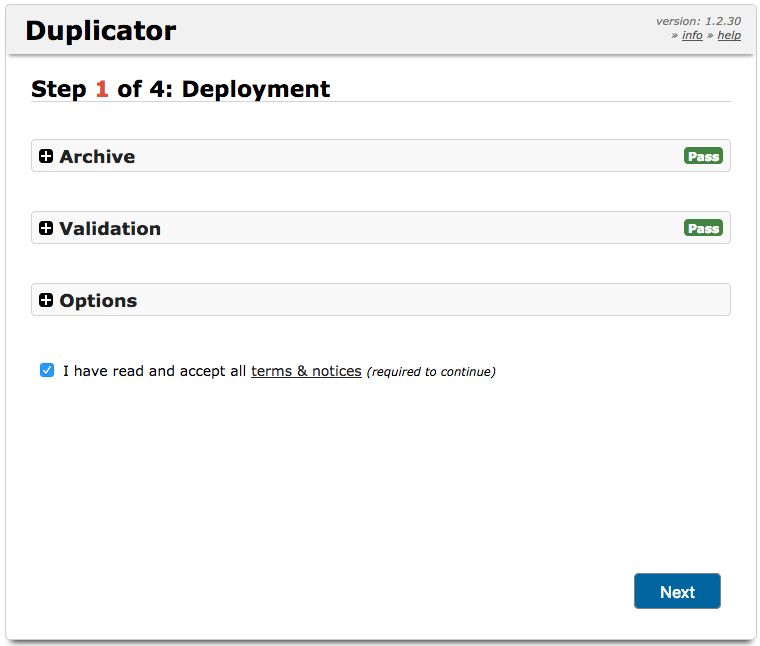
In order to actually restore your website, you have to run Duplicator‘s installer from your browser and complete the steps you’ll find there. However, mysite.com keeps pointing to your old web server. In order to run the installer without changing the DNS record of mysite.com yet, add a domain alias from Moss and use that domain name instead:
- Check deployment is ok and click ‘Next’
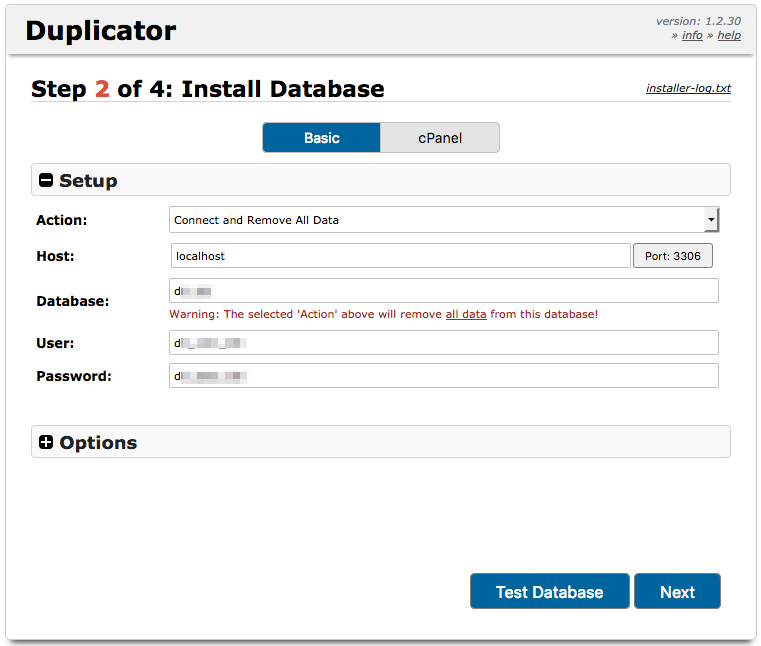
- Check database connection info is ok, click ‘Test Database’, and click ‘Next’ if everything’s ok
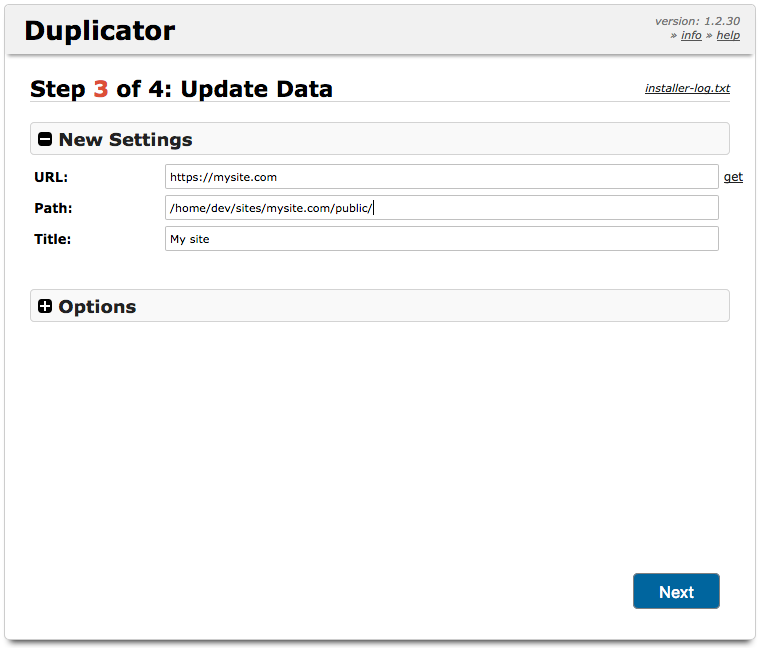
- Check website data is ok and click ‘Next’
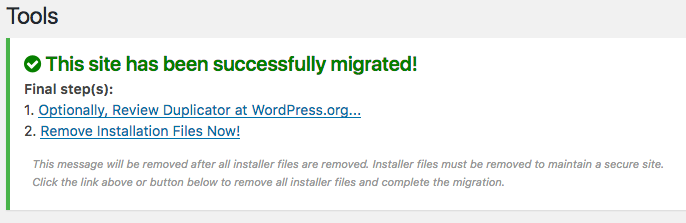
- Log into your WordPress installation on your new server and check everything’s ok
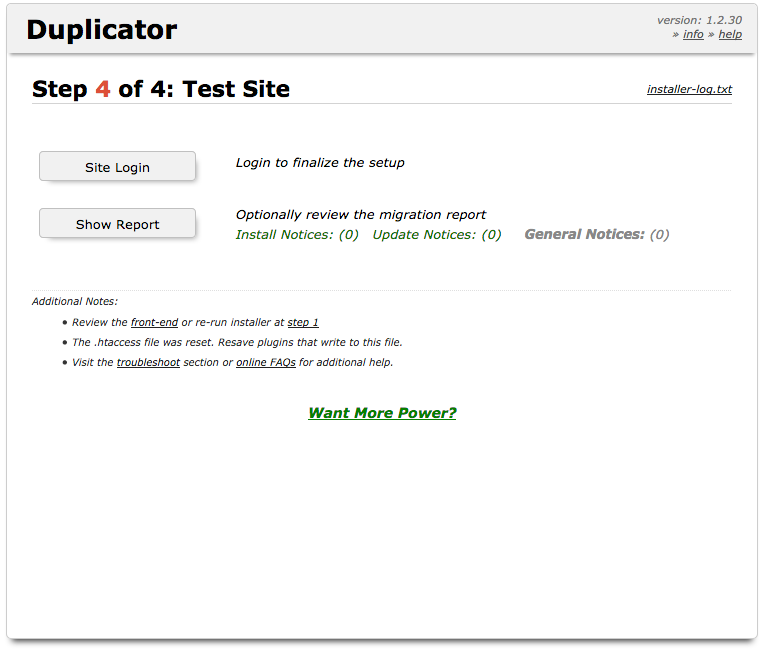
- Finally, remove Duplicator’s installation files by clicking the corresponding link
Test your website thoroughly to guarantee that it’s running as expected. Once you’re satisfied, let’s put you website live by updating the DNS 🤗
Update your DNS records
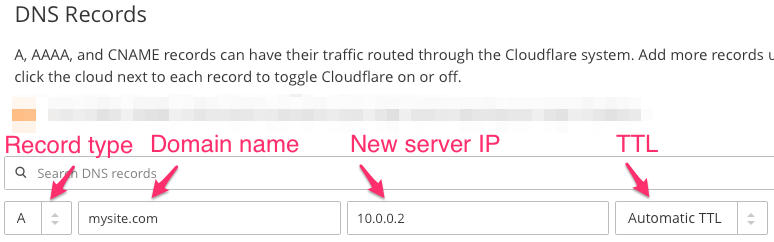
Finally, update the records in your DNS provider so that mysite.com resolves to the IP address of your new server 10.0.0.2.
In the figure below you can see how to update a type A record in Cloudflare. Any other DNS provider will provide you with a similar panel where you’ll be able to change your records.
Now just wait for old DNS cache entries to expire (2 minutes in this example) and your WordPress site will be available to all your users from the new server connected to Moss. Congrats! 👍